Festive Fingertips: A Guide to Easy Christmas Nail Art
Related Articles: Festive Fingertips: A Guide to Easy Christmas Nail Art
Introduction
With enthusiasm, let’s navigate through the intriguing topic related to Festive Fingertips: A Guide to Easy Christmas Nail Art. Let’s weave interesting information and offer fresh perspectives to the readers.
Table of Content
Festive Fingertips: A Guide to Easy Christmas Nail Art

The holiday season is a time for celebration, joy, and of course, festive decorations. And what better way to embrace the spirit of Christmas than with beautifully adorned nails? While intricate nail art designs can be mesmerizing, achieving a festive look doesn’t require advanced skills or extensive time.
This article delves into the world of easy Christmas nail art, providing a comprehensive guide for anyone looking to add a touch of holiday cheer to their fingertips.
Understanding the Appeal of Christmas Nail Art
Christmas nail art holds a unique appeal, transcending mere aesthetics. It serves as a visual expression of holiday spirit, allowing individuals to showcase their personal style and celebrate the season in a creative and engaging manner.
The popularity of Christmas nail art stems from its versatility. From simple designs suitable for beginners to more intricate patterns for the experienced, there is a style for every taste and skill level. The accessibility of tools and resources, coupled with the abundance of online tutorials and inspiration, makes creating festive nail art a fun and achievable endeavor.
Essential Tools and Materials for Christmas Nail Art
Before embarking on your festive nail art journey, it is crucial to gather the necessary tools and materials. A well-equipped toolkit ensures a smooth and enjoyable creative process.
- Base Coat and Top Coat: These are essential for protecting the natural nail, preventing staining, and providing a smooth surface for polish application.
- Nail Polish: Choose a selection of festive colors like red, green, gold, silver, and white. Consider using metallic polishes for added sparkle and shine.
- Nail Art Brushes: A variety of brushes, including thin detail brushes, dotting tools, and striping brushes, will allow you to create intricate designs.
- Nail Art Stickers and Decals: These are readily available in a plethora of holiday themes and designs, offering a convenient way to add intricate details without advanced artistic skills.
- Glitter: Add a touch of sparkle with fine or chunky glitter, available in various colors and textures.
- Rhinestones: These can be used to create accents or embellish existing designs.
- Nail Art Tape: This adhesive tape is used for creating clean lines and geometric patterns.
- Cleaning Supplies: Nail polish remover, cotton balls, and a cuticle pusher are essential for clean application and removal.
Easy Christmas Nail Art Designs for Beginners
For those new to nail art, simple yet festive designs are the perfect starting point.
- Red and Green Stripes: Paint your nails with a base coat of red or green. Use thin nail art tape to create vertical or horizontal stripes in the contrasting color.
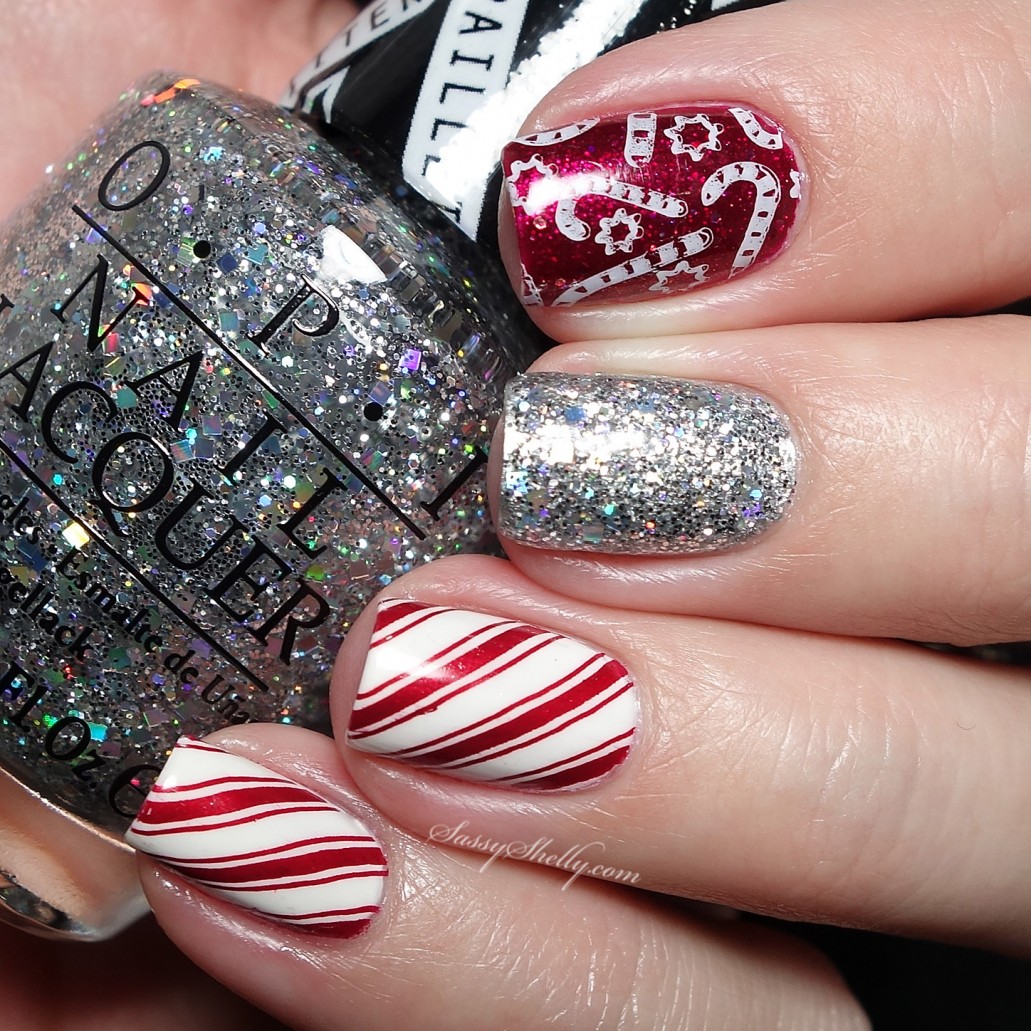
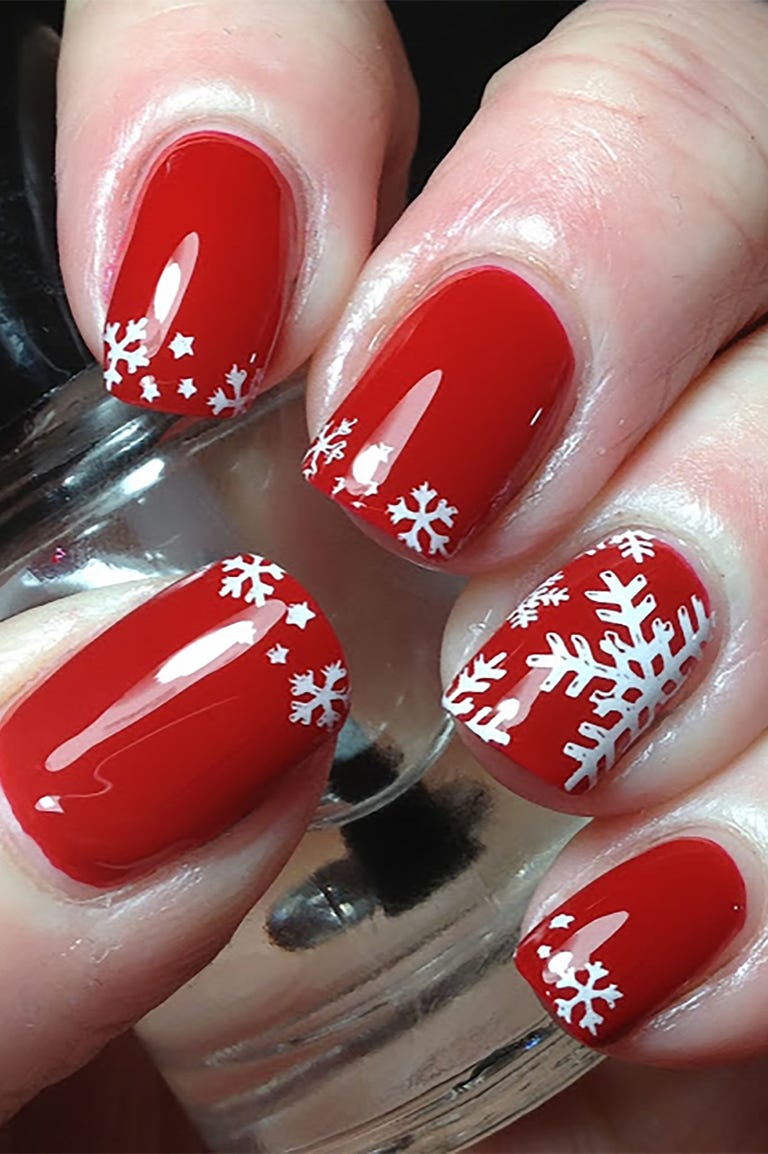
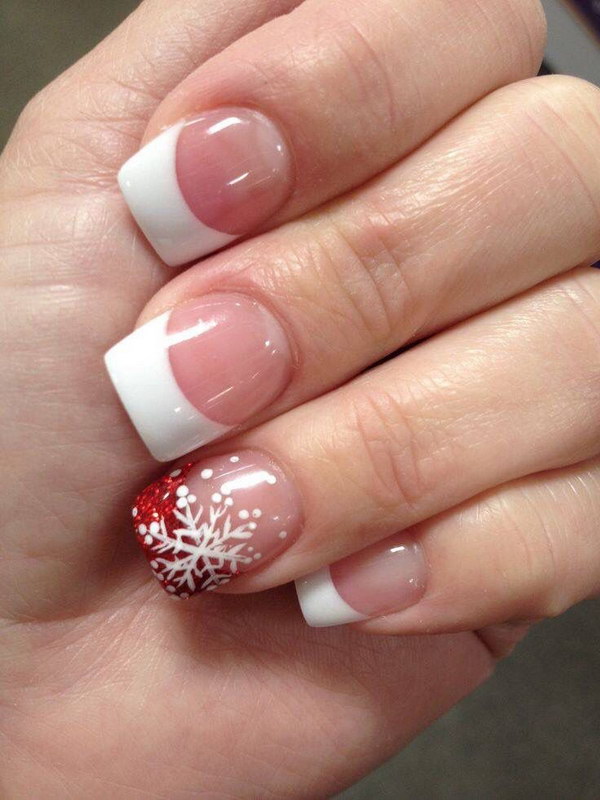
- Snowflake Accent: Paint your nails with a base coat of your choice. Use a white nail polish and a thin brush to create a simple snowflake design on one or two nails.
- Reindeer Antlers: Paint your nails with a base coat of brown or red. Use black nail polish and a thin brush to create two small, curved lines on the top of each nail, resembling reindeer antlers.
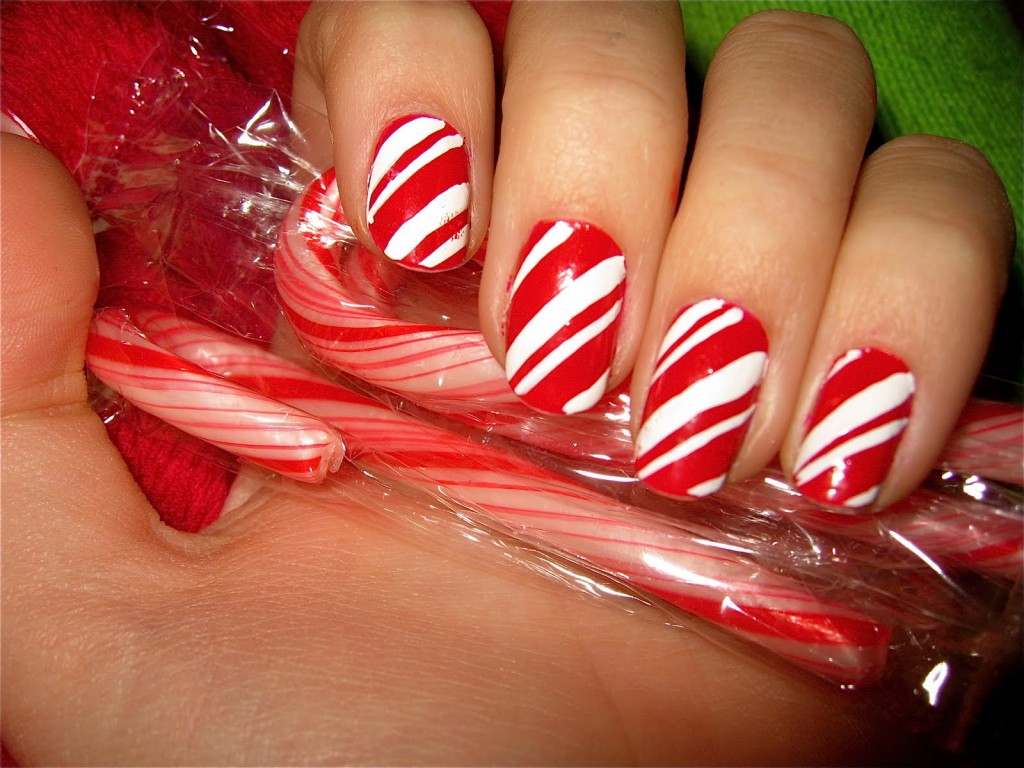
- Candy Cane Stripes: Paint your nails with a base coat of white. Use a thin brush and red nail polish to create thin diagonal stripes, mimicking a candy cane.
- Christmas Tree: Paint your nails with a base coat of green. Use a thin brush and brown nail polish to create a small triangle shape at the top of each nail, resembling a Christmas tree. Add a star at the top using a gold or yellow polish.
Adding Complexity to Your Designs
Once you’ve mastered basic designs, you can experiment with more intricate techniques and embellishments.
- Negative Space Designs: Create festive shapes, like snowflakes or Christmas trees, by leaving them unpainted against a colored background.
- Glitter Gradient: Use a sponge to blend two or more glitter polishes, creating a gradient effect on your nails.
- Rhinestone Accents: Add a touch of sparkle by strategically placing rhinestones on your nails, creating festive patterns or accents.
- Freehand Designs: Practice drawing simple Christmas motifs like snowflakes, ornaments, or candy canes using a thin brush and a steady hand.
Tips for Achieving a Professional Finish
- Clean Up: Use a small brush dipped in nail polish remover to clean up any mistakes or spills.
- Patience is Key: Allow each coat of polish to dry completely before applying the next to prevent smudging.
- Use a Base Coat: A base coat protects the natural nail and prevents staining from dark polishes.
- Apply Thin Coats: Multiple thin coats of polish will provide a smoother and more even finish than one thick coat.
- Top Coat: A top coat seals in the design and adds shine, extending the lifespan of your nail art.
FAQs on Easy Christmas Nail Art
Q: What are the best nail polish colors for Christmas nail art?
A: Traditional Christmas colors like red, green, gold, silver, and white are always popular choices. However, you can also experiment with bolder colors like burgundy, emerald, or navy blue for a more unique look.
Q: How do I remove Christmas nail art?
A: Use a cotton ball soaked in acetone-based nail polish remover to gently remove the polish and any embellishments.
Q: Can I use nail art stickers on natural nails?
A: Yes, nail art stickers can be applied to natural nails. Ensure the nail surface is clean and dry before applying the sticker.
Q: How long does Christmas nail art last?
A: The lifespan of your nail art depends on the quality of the products used and your individual nail growth rate. With proper care, you can expect your Christmas nail art to last for at least a week or two.
Conclusion
Creating festive Christmas nail art is an enjoyable and rewarding experience. With a little practice and creativity, anyone can achieve stunning holiday-themed nail designs. Remember to have fun, experiment with different techniques, and embrace the spirit of the season on your fingertips.


Closure
Thus, we hope this article has provided valuable insights into Festive Fingertips: A Guide to Easy Christmas Nail Art. We appreciate your attention to our article. See you in our next article!